|
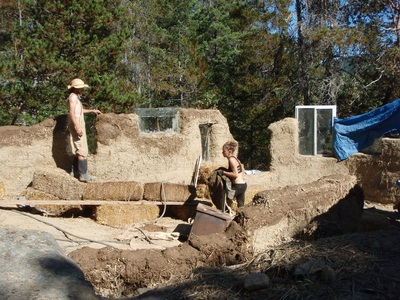
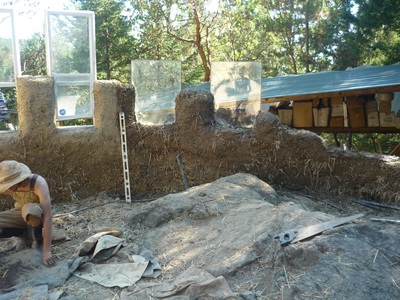
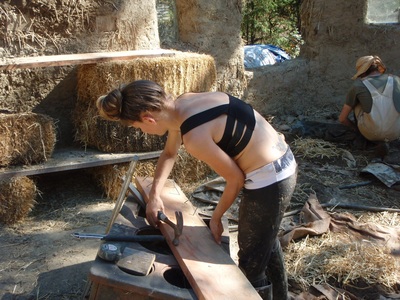
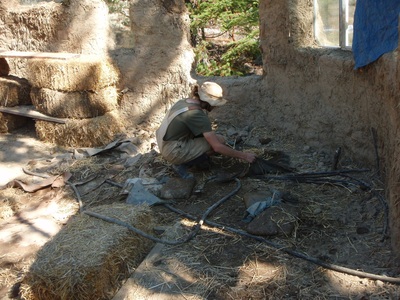
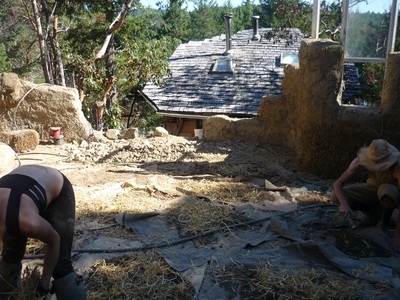
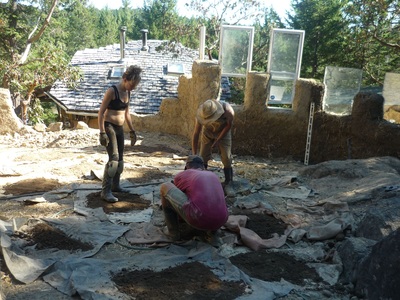
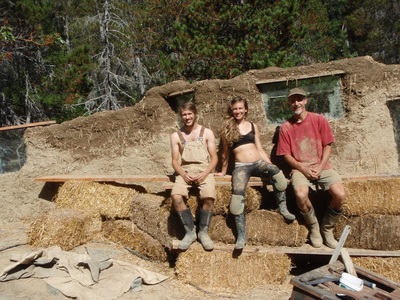
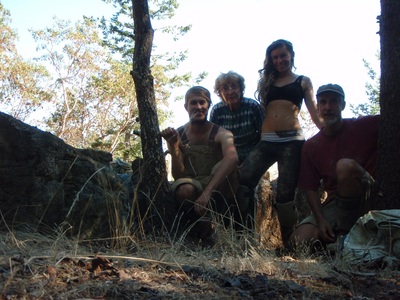
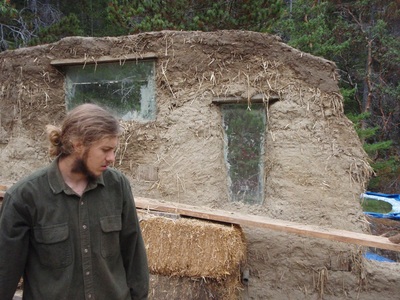
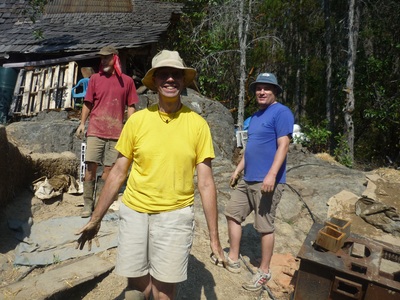
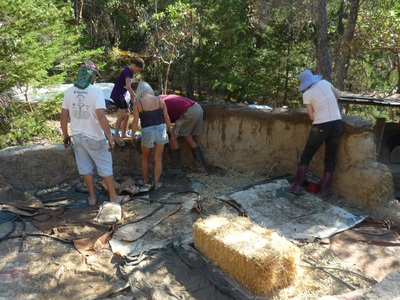
Honalee made this one happen; Ryan was stopped at the border, but despite his absence, this workshop burned brightly as did the sun. Honalee was trying all summer to make a workshop so we created this one just for her. And if the pictures don't show it, she and everyone else was glowing with the joy of Natural Building by the end of it. And talent night was filled with song and melodic voices...and fitting end to the workshop season!
0 Comments
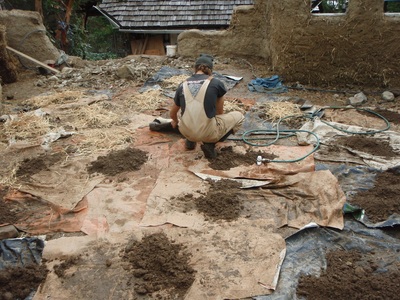
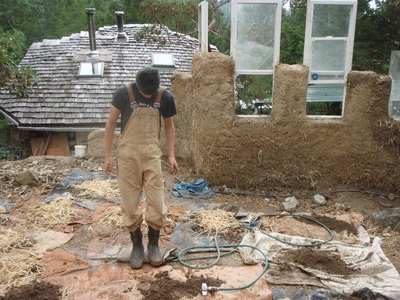
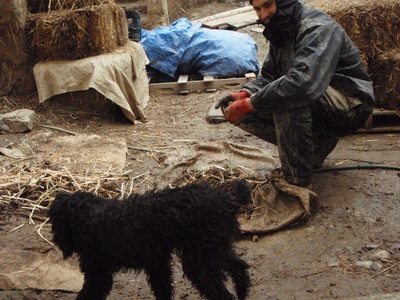
Alex rode his bike up from Oregon and arrived on September 8th, 2014. We planned for a month and it lasted a full two months, despite the turn from hot and dry to cool and wet. His initial intro to Fast Cob! came during the next workshop held within a week of his arrival, so the foundation was well laid. And Alex proved this by his departure, having worked himself up to doing mass production of bricks all by himself.
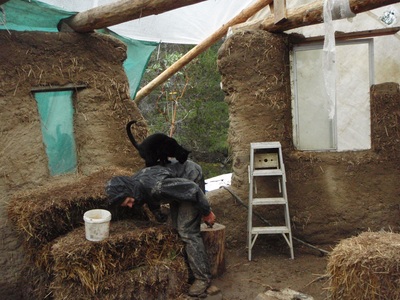
Together, we built an incredible amount of cob, put up all 9 of the very heavy floor joists (with help from our neighbours), and built the tarp roof - twice! And as of Valentine's Day 2015, the tarp has been solid as a metal roof. Alex will be back, I'm confident of that, but in the meantime, he is doing another apprenticeship to build himself a different type of home: a bicycle cargo bike. I can hardly wait for him to ride that to Lasqueti! This was another workshop of new techniques.
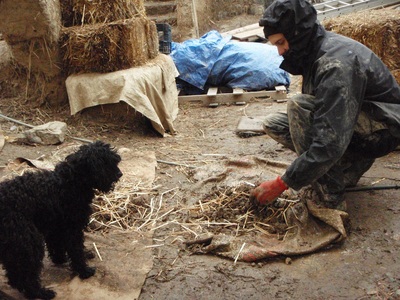
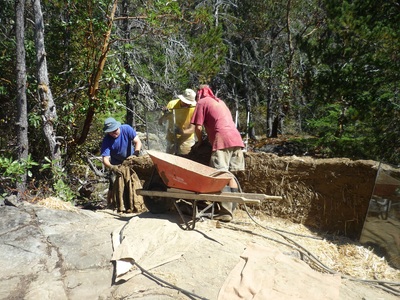
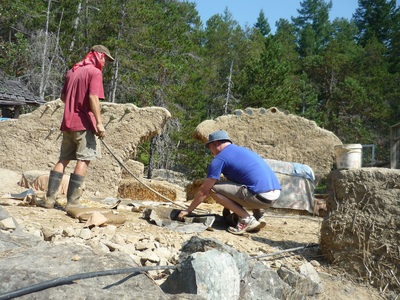
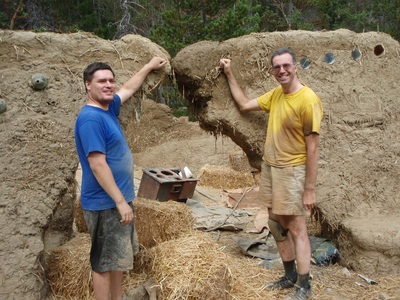
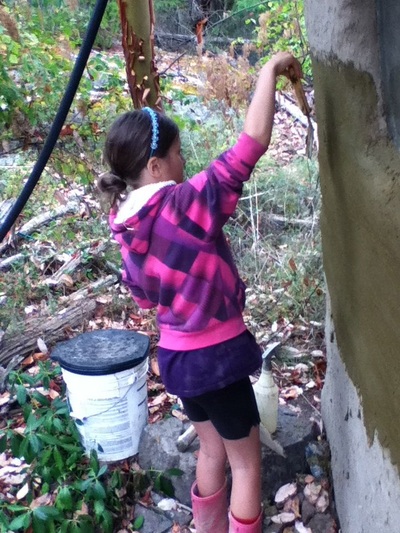
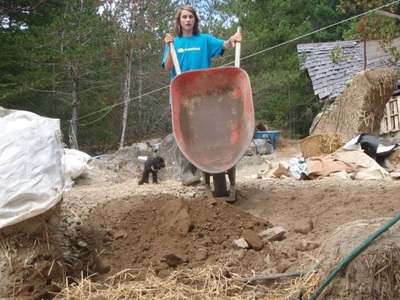
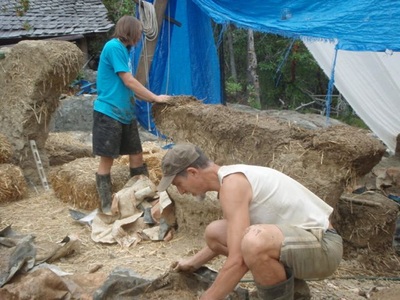
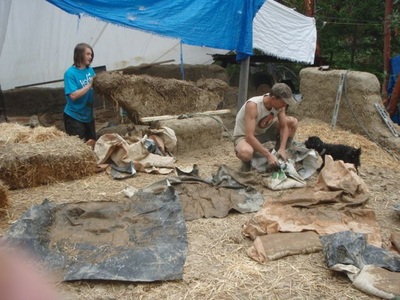
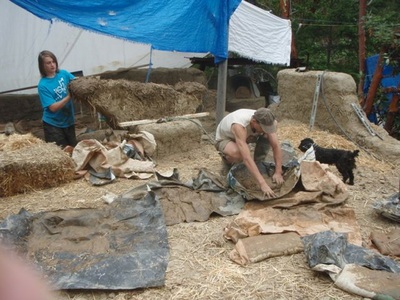
Byron invented "wheelbarrow cob" in order to mix off the ground to reduce strain in his back. Robert's wonky knee required a kneepad and a cobbing accessory was born! I love these workshops because so many new ideas are born. If it wasn't for workshops, Fast Cob! itself would never have been born... ...and the first workshop for my daughter! I was thrilled that she could finally be part of a weeklong workshop and at the tender age of 9, cobbed throughout when she wasn't preparing our tasty snacks. Actually, I exaggerate since she was also the official photographer (hence the lack of photos of her):
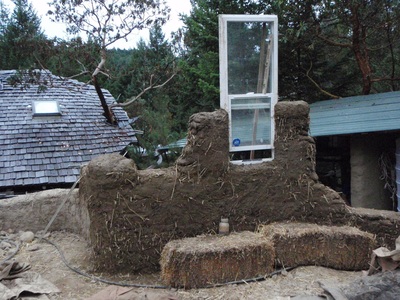
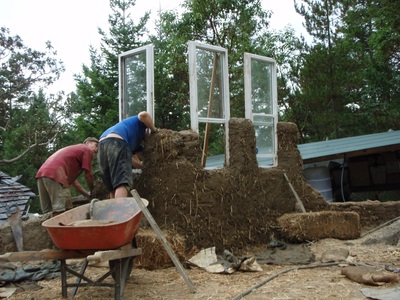
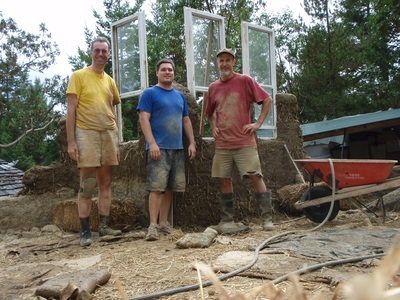
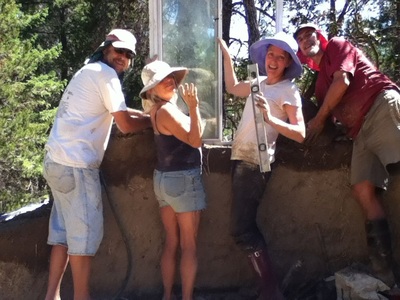
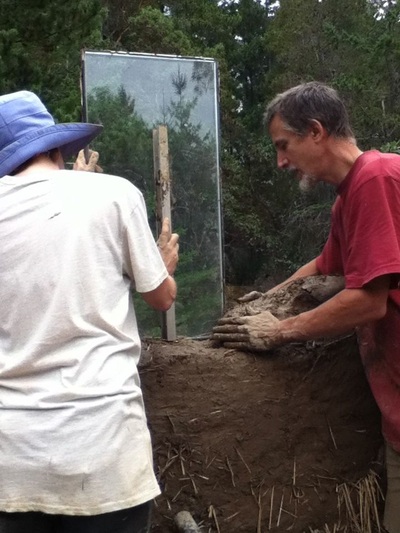
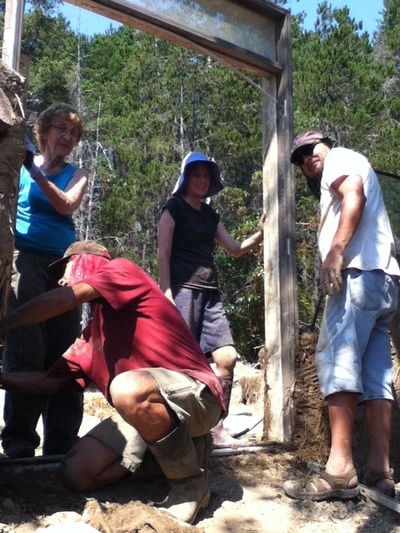
As you can see the first window of the main house was installed, as well as the double door. Excluding my daughter, our average age was late '50s and you can see how much Fast Cob! did. We even "experimented" with slower cob and utilized the straw bales as benches to help our older bodies. And despite the rainy last day, we had a blast with talent night and ended up with limericks to remind us all of the virtues of cob. Climate Change is more than a reality; it isn't going to stop unless we change our civilized ways...and soon! Today, building is a huge source of carbon emissions, both in the manufacture of homes and offices as well as the heating and cooling of them. Fast Cob! compares to conventional building practices in terms of speed, but there's no comparison when it comes to carbon-emissions, toxics creation, after-life disposal, heating/cooling, and length of service life. And we now have 2 ways for you to save on our workshops (see below).
Check it out: Fast Cob! (vs. conventional)
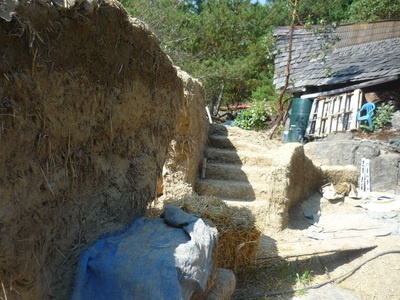
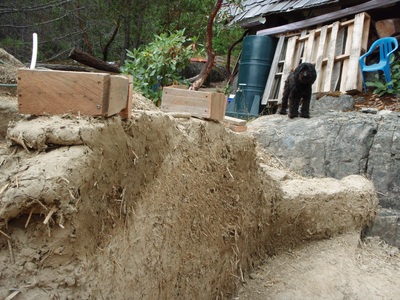
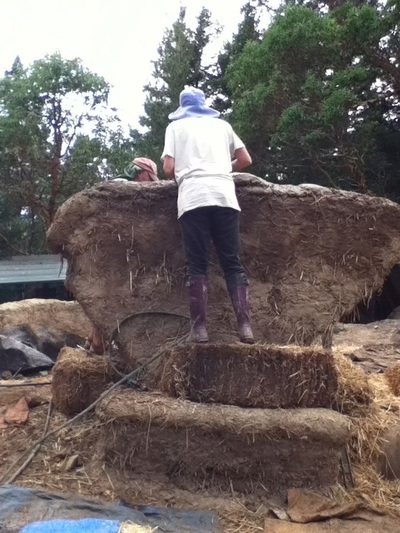
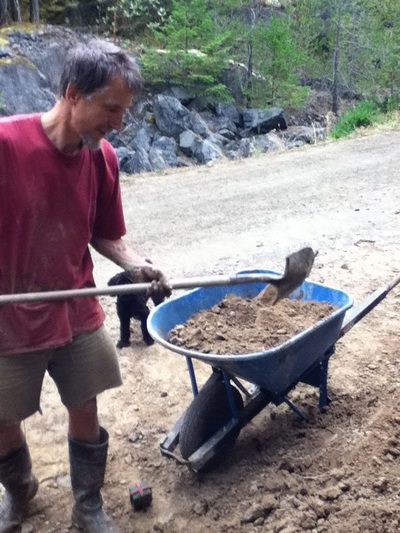
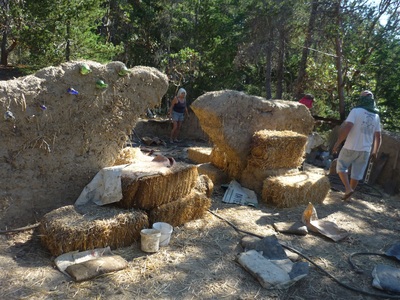
We have two more opportunities coming up to learn our Fast Cob! technique...which is not only carbon-free, it's faster and easier than any other Natural Building technique. August 9-16 and August 23-30. These will be our 14th and 15th workshops, and they are filling up fast! The first workshop still has room for 1 more family to take advantage of our Special 2-for-1 Offer. And now for both workshops, you can take 20% off our regular price if you travel carbon-free to the workshop on Lasqueti Island. That could be by bicycle, or regularly scheduled bus or train. If you're travelling less than 100 km (Vancouver Island or Vancouver) and are willing to car-pool, you can take 10% off our regular workshop price. We not only teach how to build carbon-free, we'll pay you to travel carbon-free! Together, we can survive Climate Change...but let's not delay any longer! Jackson and I experimented with a low, wide wall and the staircase by creating a new method of mixing in place. It combined the pit mixing and pitchfork methods of the past in Wales and it worked wonderfully! Now we not only do Fast Cob!, we do Super Fast Cob!
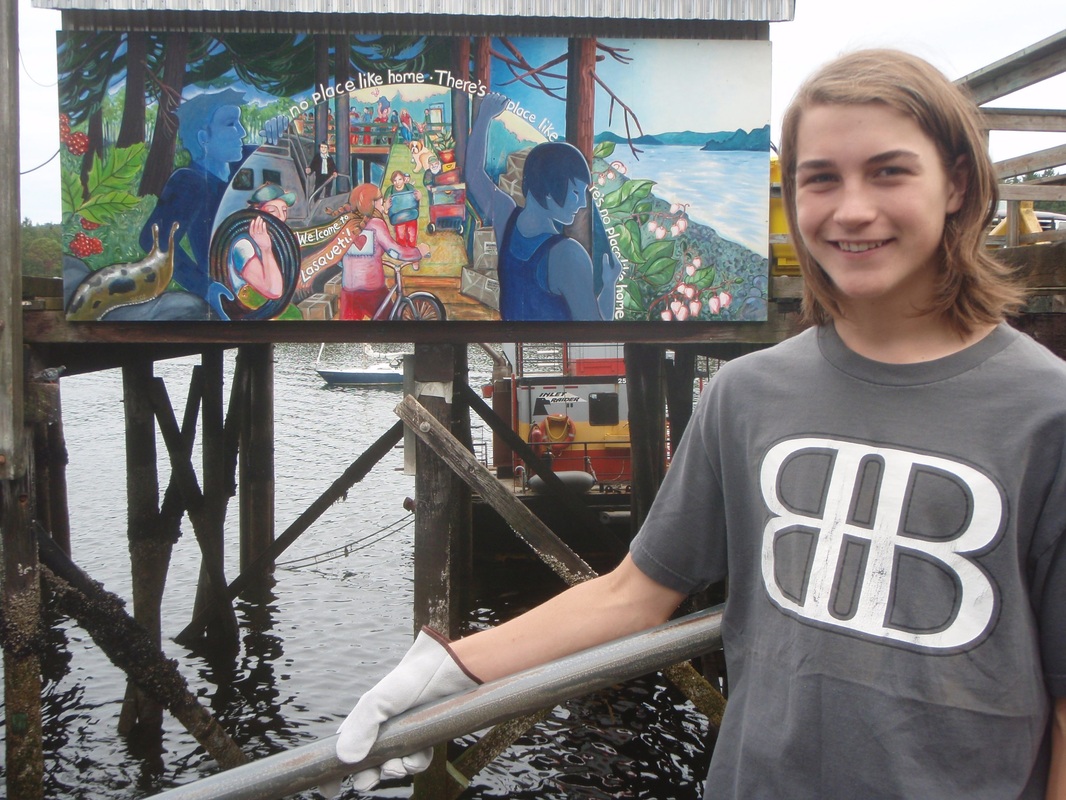
Direct from Park City, Utah...Jackson McGaw arrived with the early start of Summer heat. Here he is at False Bay with a lovely Community Mural welcoming us home...
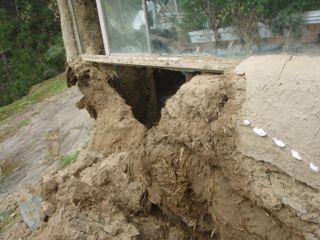
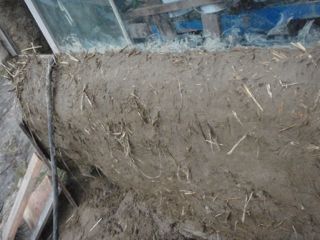
Here's the before (actually more like during) and after. I cheated on the Greenhouse foundation and after a few years of soil accumulation, water was able to be wicked up by the cob wall. It only took a day to take out the compromised cob, put in more foundation rocks and recob the wall.
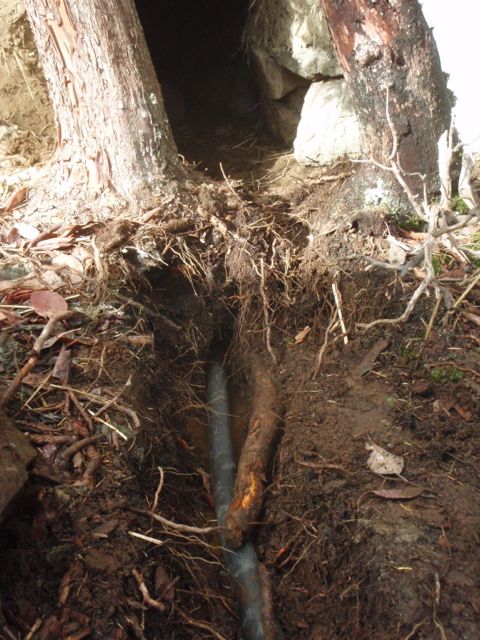
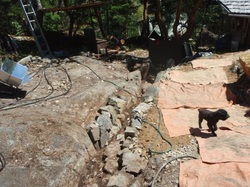
With a straight and thin wall (9"), I was worried, but cob amazed me again. No cracks or other issues. But the lovely plaster with gorgeous shell design was lost, so another empty palate awaits whoever is inspired to create on this "new" wall! 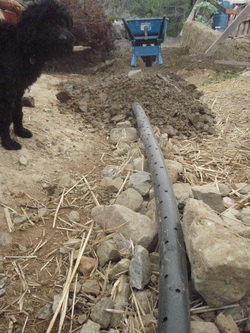 The heavy rains at the beginning of November highlighted the need to add some more drainage to the Main House site. To the left, Willy Willow is inspecting the 2" poly pipe to ensure that enough holes were drilled in to let the water seep in the top of the pipe and then drain out the end of the pipe. Thankfully the floor had not been built up yet; another few hundred wheelbarrow loads of gravel are still to be hauled! Below, another drainage pipe was slid underneath the two Arbutus trees to allow the ash pit of the Ondol tunnel to drain before the water level could rise high enough to reach the cob foundation walls. Of course, once the roof is in place, with its wide overhang, these drainage issues will likely never reappear, but if they do, we've got the systems now in place...let it rain, let it rain, let it rain! 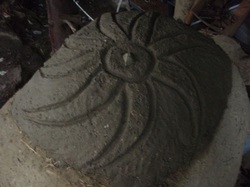 This year's Cob Oven Workshop included a little experiment with some new-to-me natural materials. I had been recently informed about Perlite, a naturally occurring volcanic glass that has excellent insulation properties. We mixed it in a thick clay slip to add to the existing cob oven, which was losing more heat through its top than I wanted. It mixed up very easily and was applied just as easily, holding the shape we wanted. As you can see, it is easily sculpted, too! 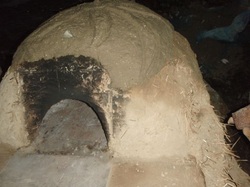 Subsequent tests (well, let's be honest, baking sessions with bread, granola, cakes, cookies and casseroles:) have shown a marked improvement in heat retention and much shorter burn times to heat up the oven in preparation for baking. The first bake took about as long as before applying the perlite/clay topping since it was still not fully dry. But the next bakes used about half the wood and took just over half the time to heat the oven to temperature. Each baking session included a first round of bread and a casserole, then a round of granola, Anicca's Chocolate Cake, and carob chip cookies. Total baking time was only an hour and everything was baked to perfection. Next time, we'll put our yogurt inside over night to take advantage of the residual heat.... 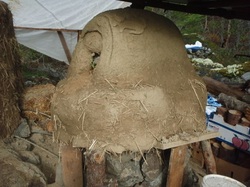 Our last workshop of the year was scheduled for the last weekend in September, usually a dry and calm time of the year. Not so this year; climate change definitely put some unexpected excitement into our Cob Oven workshop! Thankfully, all 7 participants were resilient and ready for the inclement weather. The tarp held and our mixing area did NOT become a mud bowl even though the rain and wind rarely relented throughout the Friday and Saturday. As you can see, we completed a gorgeous Cob Oven, complete with a sleeping clay kittie on top and an arching, decorative rock design around the door. 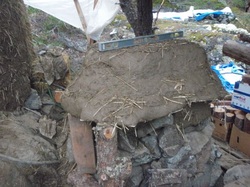 The photo to the right shows the oven after the first day. The oven bricks are about to be laid on top of a thin layer of cob that covers 99 (empty) bottles of beer. This insulating layer keeps the heat where we want it: in and near the oven; and it reduces the amount of time and wood needed to get it ready for baking. 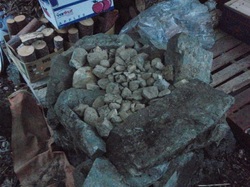 To the left, you can see how we built the oven foundation. Instead of using all large stones, we built a rock circle and filled the middle with smaller stones, greatly simplifying the process. We also decided to build the oven bigger than this foundation would have suggested, so we cantilevered the cob out over the foundation (with the use of wire racks from dead fridges in the local dump) to provide some useful shelving for the hot items coming in and out of the oven. Not recommended, but again, Cob comes through with its flexibility and adaptability, even in the worst of weather! And then there was bread...and more bread...and croissants, and... 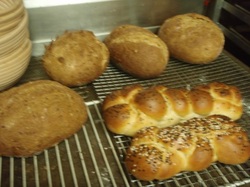 Our baking day at Nadine's was simply stuffed full: full of great instruction, food in our belly's, and fun for everyone. Seeing an expert use a cob oven firsthand increased my use and skill enormously. The incredible list of recipes we received would inspire even the most hardened of bakers. Eating a hand-rolled and topped mini pizza hot out of the cob oven was a delight not many will forget. The amount of breads we took away could have stocked a small store! The amount of bagels and croissants we ate kept us energized for the entire day, despite the non-stop baking action. Thank you Nadine for sharing your gifts, skills and passion. Truly a day that won't be forgotten by any of our cobbers! 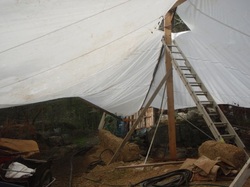 Despite the rip, the great white tarp is holding up! The end of September brought two vicious storms in the course of only 1 weekend, so the prospects of keeping the tarp up and the building site dry for the entire winter didn't look good. But the hole in the top of the tarp seems so actually be helping! The wind now has a place to escape and building a frame completely around the edge of the tarp at least 4' off of the ground has both stabilized it and allowed the wind to exit. The trees on the edge of the building site have been strategically used to attach the frame which dramatically reduces tarp movement, the key to tarp longevity. This tarp is 40' x 60' so it acts like a giant sail. Thankfully the masts in the photo have not taken to the skies as yet, although they do creak when a strong south-easterly blows in. Another stabilizer seems to be the fish nets that we draped over the windiest side of the tarp. They give a bit but definitely help keep the tarp down in even the strongest wind (to date;). It ain't pretty but so far, so dry for all the walls and the tunnel, which is all we hope for. 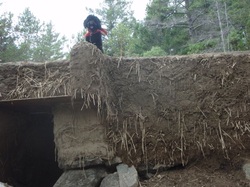 Our resident SuperDog, Willy Willow is proudly perched above the Ondol tunnel opening. If the rainy season weren't fast approaching, she would be sitting beside the double glass doors of the kitchen entrance/garden exit. Below Willy is the 1/4" metal sheet that serves two purposes: it spans the tunnel opening for the foundational wall above it, and it sticks out from the foundation for use as a cooking surface. Instead of building the foundation walls only from rock, we chose to put one course of rock on the bedrock we are building on. To further minimize the amount of rock needed (we haul it in by wheelbarrow - if we can get it in the barrow - or roll it downhill if at all possible), we only built with rock where water could possibly reach (from a spill inside the kitchen or through the Ondol tunnel). During our last two week-long workshops, we built 18" wide cob walls to bring the foundation all up to grade; this will be a great test to see how any rainwater that gets in runs through the site during the rainy season! 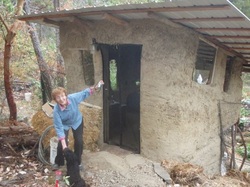 My mother is proud to do her best Vanna White impersonation and show off the completed Guest House! She says she hasn't slept so well for years...both with the front door open (the magnetic screen door keeps the 'squeeters out) and closed. A coat of plaster in a couple of weeks will polish off the outside. 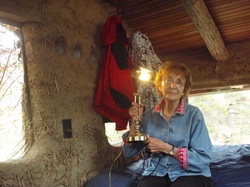 You can see that Cob can accommodate easily all the conveniences of modern technology...if you choose to include them. Here, Mom is holding a table lamp with a 6W LED bulb, plugged into the wall, which is wired for 12V DC (don't try that conventional hair dryer!) 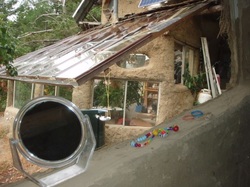 This is the view from the larger south-west facing window...the greenhouse surrounding the first cob building. 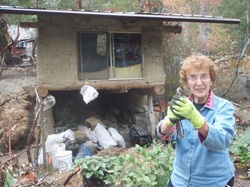 And here is a view from the Garden of the Guest House (aka Grozel House, since Grozel [pictured] is the Romanian word for Grandmother and the name my daughter uses for my mom). The metal roof has already proven itself to be efficient at catching rain; we had only a mm or two, but the gutter and hose system filled up a 75 gallon barrel completely! Much needed during our very dry summers here on Lasqueti. 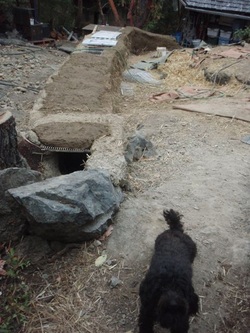 Willy Willow is excited to show you the completed tunnel, which will act a a flue for the outside fire pit (far end of photo) and allow the heat to be absorbed into and through the cob floor. You can see the reclaimed washing machine lids at the far end of the tunnel as well...they make it easier to span the two cob walls and are both strong and fire proof, and won't restrict the heat conduction from flue to floor. Now, we'll fill in the subfloor on both sides of the tunnel with gravel wheelbarrowed in. When that is done, we'll have wide, flat spaces to mix on, which will make the perimeter walls quick to put up. And the interior wall, which will hold up the south roof beams and 2nd floor joists, will mostly follow this tunnel but will have two wide arches! It's going to be fun! 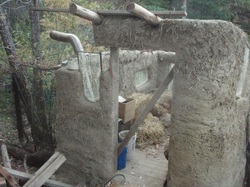 Our first week long workshop of 2013 also brought the Guest House to near completion. We almost finished the remaining two walls and we got both of the 16' rafters up and cobbed in. Our next workshop will complete the walls, roof, and plaster the interior! 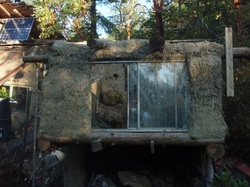 Here's the view of the Guest House from the Garden...note that the Garden Shed is underneath and the end of the Guest House closest to you is cantilevered over the Garden Shed. Once every thing is done and dry, the few supporting posts will be removed and the Guests will sleep 6' off the ground suspended in air...not your usual Cob House! 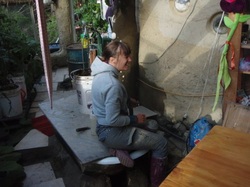 Here's an action photo of the latest artist creating with our natural plaster and rock and shells...Thanks Claire! 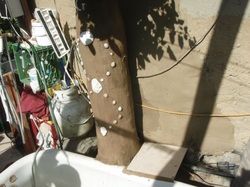 And here's her creation during the first week long workshop of 2013...I love the design and it brings both function (for the tile shelf during baths) and beauty to the green/bath house. Every shower brings joy...I can hardly wait for my daughter to gasp in delight when she sees it! 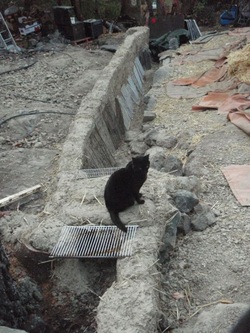 This shot shows the first wall of the tunnel complete and the beginning of the top of the tunnel. We're using reclaimed wire racks direct from the dump/landfill (as well as washing machine lids) to help keep the cob in place for the roof of the tunnel, which will eventually be buried by the cob floor. We'll fill both sides of the tunnel with gravel to level the floor for the workshops later this summer. Blacki Black Black can already sense that this is going to be the coziest spot in the new house...he ain't moving! 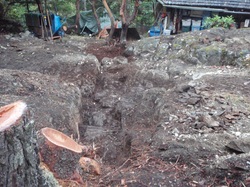 Our building site screamed Ondol (with a bit of a West Coast accent:) after it was finally fully hand excavated. This photo shows what the terrain looked like before the heating tunnel was begun. We are looking down the natural rock opening that will guide us with the rock foundation and cob walls for the tunnel...which you'll see growing in the next photos... 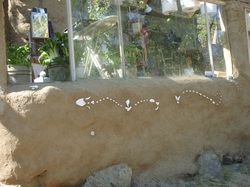 I've focused on building for strength and functionality to date so it was a breath of fresh air when my dear friend Michele offered and created a gorgeous design that she plastered onto the greenhouse wall (naturally, of course). After gathering some shells, rocks, and a vertebrae, she organized them as you see and in the blistering heat, embedded them in the natural plaster she added to the outside of the greenhouse wall. She was a bit worried that one or more pieces would succumb to gravity, but a month of wind and rain later and not a piece has waivered. Thank you Michele for inspiring our new trend to beautify as we cob along.... I'm so excited! Ginny from North Carolina will be arriving on Monday evening for a 9 week apprenticeship.
My mother just finished another lovely visit with us and helped put the finishing touches on the Guest Tent for Ginny's impending arrival. Today, the new front door with metal frame and 113 lb piece of 1/4" metal to cover the fire pit of the Korean under floor heating system for the Main House will arrive. We'll be ready to go full steam ahead on building the floor and starting the foundation so that the first workshop in July will have unlimited cobbing and plastering opportunities! 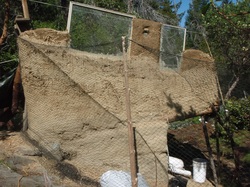 The Guest House is currently about half complete. The stretch of warm dry weather earlier in May allowed 3 windows to be installed and the walls that were built during the winter to be completely dried. This first photo shows the south side of the Guest House. The windows are placed strategically to reach the ceiling, thus avoiding the need of lintels. A small amount of cob will be used to seal between the window and ceiling since these windows have frames. In terms of heating efficiency design, the Guest House is only 96 sq ft with a wood stove; it will easily heat up in winter during the limited use it will see. 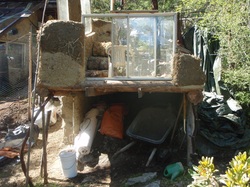 This next photo shows the view from the Garden. The floor to ceiling window will allow a breathtaking panorama of the Garden area from inside the Guest House. As you can see, the window is installed and one of the connecting walls isn't even fully built: cob is that strong! Now imagine sleeping on the bed beside this window and waking to the sunrise over the Garden...ah, another gorgeous day in Paradise! Here are some links to the former website that let the world know about these workshops...there are photos of the various buildings in progress as well. Apparently, the first 2 workshops were only promoted by email, poster, and word-of-mouth...
May 2008 May 2009 June 2009 May 2010 August 2010 March 2011 May 2012 August 2012 |
Our Cob Village
We'll try to keep you updated on all the latest activity here at Lasqueti's Cob Village... Categories
All
Archives
March 2019
|

 RSS Feed
